
How to develop Color Negative Film

I once wanted to create a zine about this topic and spent about a month trying to put everything together but it never happened. So I thought I will make this post on how to do it by yourself. It’s not as complicated as everyone says. And after buying all this stuff it almost costs you nothing to develop.
I started with completely crappy and cheap gear and it still turned out quite good.* You dont need to spend that much money to start out. Thats why I will make this guide only with gear you really need. I will list the stuff that I am using, but there are a lot if different options you can choose from. Also, I will sometimes share an Amazone link because it’s nice to check it out there, but you should try to buy at your local camera and diy store.
*Im really not someone who pays attention to quality when comes to things like developing. So if you want accurate results you should look for a different tutorial I guess.

What you need
A developing tank Jobo 1520 Tank for two 35mm or one medium format film
Film reels Link (if not included with your tank)
A C-41 developing kit Tetenal COLORTEC C4
Three 500ml bottles
A plastic tub with space for three bottles and your developing tank.
A measuring cup (starting by 100ml)
A stopwatch or your phone
A basic water thermometer
A hopper
Things you don't necessary need but make it easier:
A film changing bag Link
An aquarium heating Schego titanium Heater
A heating regulator with a build in thermometer. I use an Inkbird 220V ITC-306T which I can’t find online anymore. But this one is almost the same: Link
A film wiper Link
A film picker Link
An aquarium pump Link
Some request disposable gloves because of the chemicals but I never used them and I actually like how smooth my hands feel after developing. But I guess you should use them :)

You should know that with the c-41process it doesnt matter what iso your film has, the process is always the same. There are a lot of different ways to develop, but I will show you the standart with 38 degree. And your chemicals weaken with time, that means the more films you develop, the more time it needs in the process. But every package of Tetanal comes with a chart about how to do it. Also, fresh air lets your chemicals weaken faster. So you need to always close your bottles. You can also buy some spray that is heavier than air end settles on to the surface of the chemicals, but lighter gas will do the same.

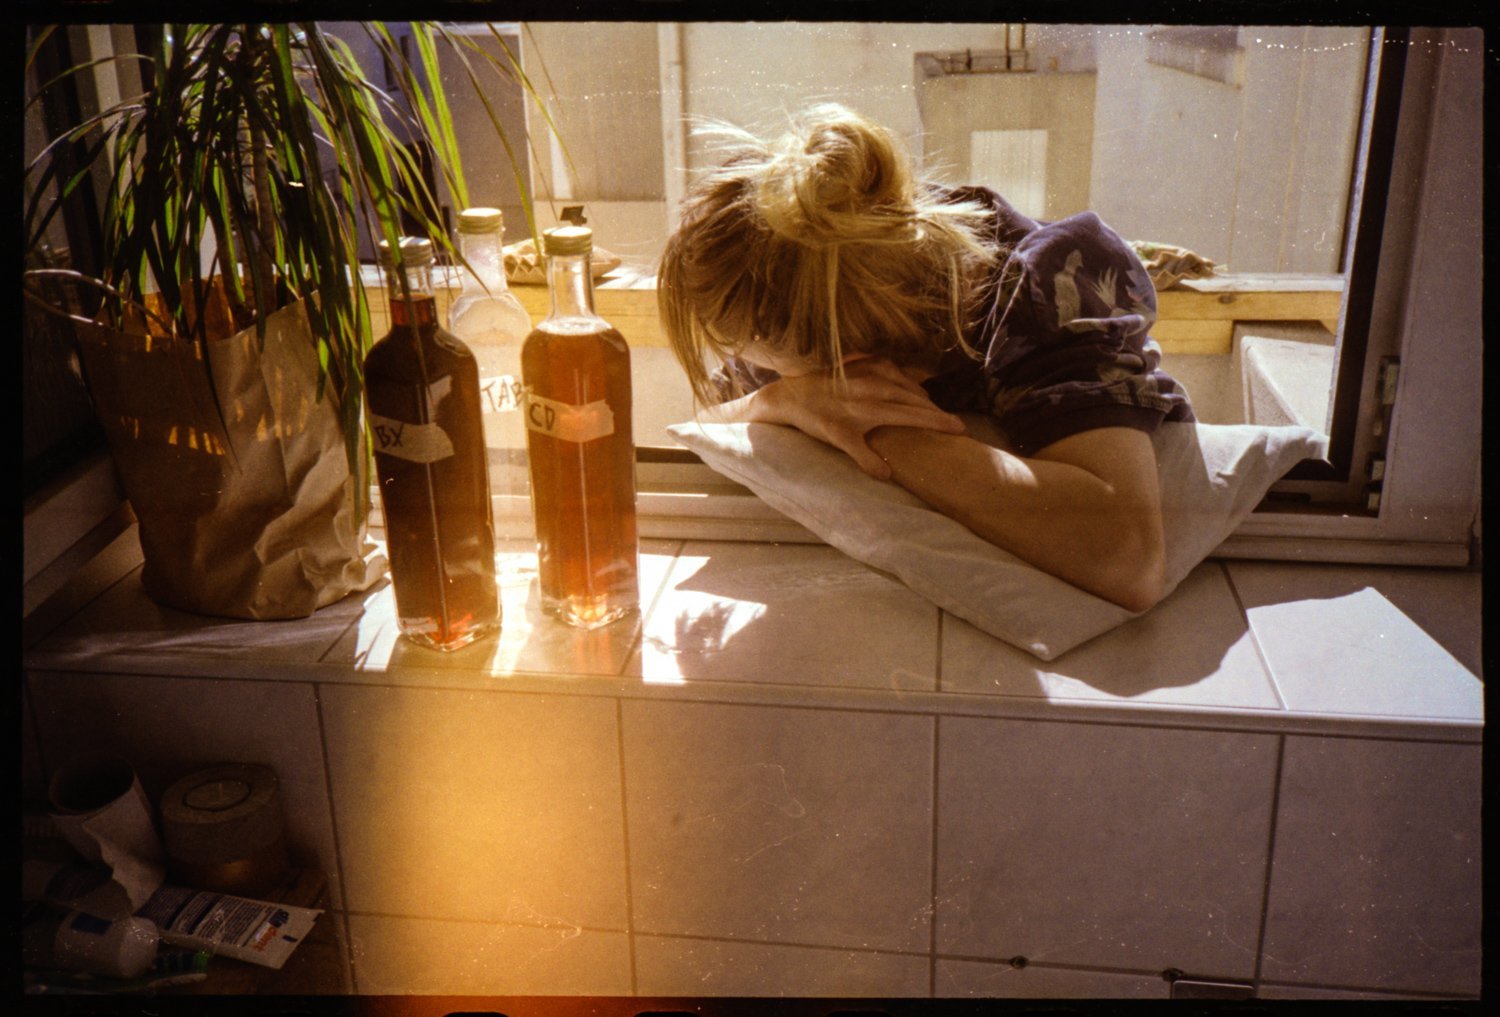
At first you need to prepare your chemicals.
For the Jobo 1520 Tank you need a 500ml working solution so that you can develop two films at once. Mix it in your bottles as follows and mark them with a waterproof pen.

CD (Developer):
Warm water: 200ml
CD Part 1: 100ml
CD Part 2: 100ml
CD Part 3: 100ml
BX (Bleach and Fixer):
(I always use a little bit more BX and less water because my images tend to be a bit brown otherwise)
Warm water: 300ml
BX Part 1: 100ml
BX Part 2: 100ml
Stab (Stabilizer):
Warm water: 400ml
Stab: 100ml

Now you put your chemical bottles in the tub and fill it up with warm water. If you have an aquarium heating and regulator, this part will be no problem. Just fill in the water, set the regulator to 38 degrees and wait until its the right temperature. If you don’t have that, you can control it with adding hot or cold water. With time you will get a feeling for it.. Now you need to wait until the chemicals have the same temperature as the water around them. You can also use aquarium pumps to keep the water flowing so that the temperature everywhere in the tub is the same, but it’s not necessary.
This temperature thing is also why a lot of people say you can’t develop at home because you are not able to be accurate enough. But I experimented a lot (even with almost boiling water) and to be honest, it’s kind of difficult to really fuck it up.
Now you need to prepare your films
At first you need to pick the end of the film out of the roll. You can use a film picker or the diy method with an old film stripe. For this you wet the end of a film and thread it into the roll. Now you twist the film inside of the roll until you feel a resistance. Pull the stripe out and if youre lucky, the film inside came out as well. It requires a kind of feeling and sometimes its frustrating but you will get it with time:)

Load the film in to the tank. You can do it with a changing bag or the diy method with a black hoodie. Just tape all the openings and make sure that everything is sealed, except for the sleeves because thats where you put your arms.


Put your developing tank, film spools, your prepared films and a scissor in the bag/ or hoodie. Now you need to thread the films in to your spools. This is the trickiest part because you dont see what you are doing. But after a few attempts it gets easier. Cut the end of the film (you can also easily rip it) and put the spools in your tank. Be sure that the tank is completely closed before you take it out into the light.
Now you can do the developing process
In the best case, you write and pin a manual about how long each bath takes on the wall or your tub so you can always check it.
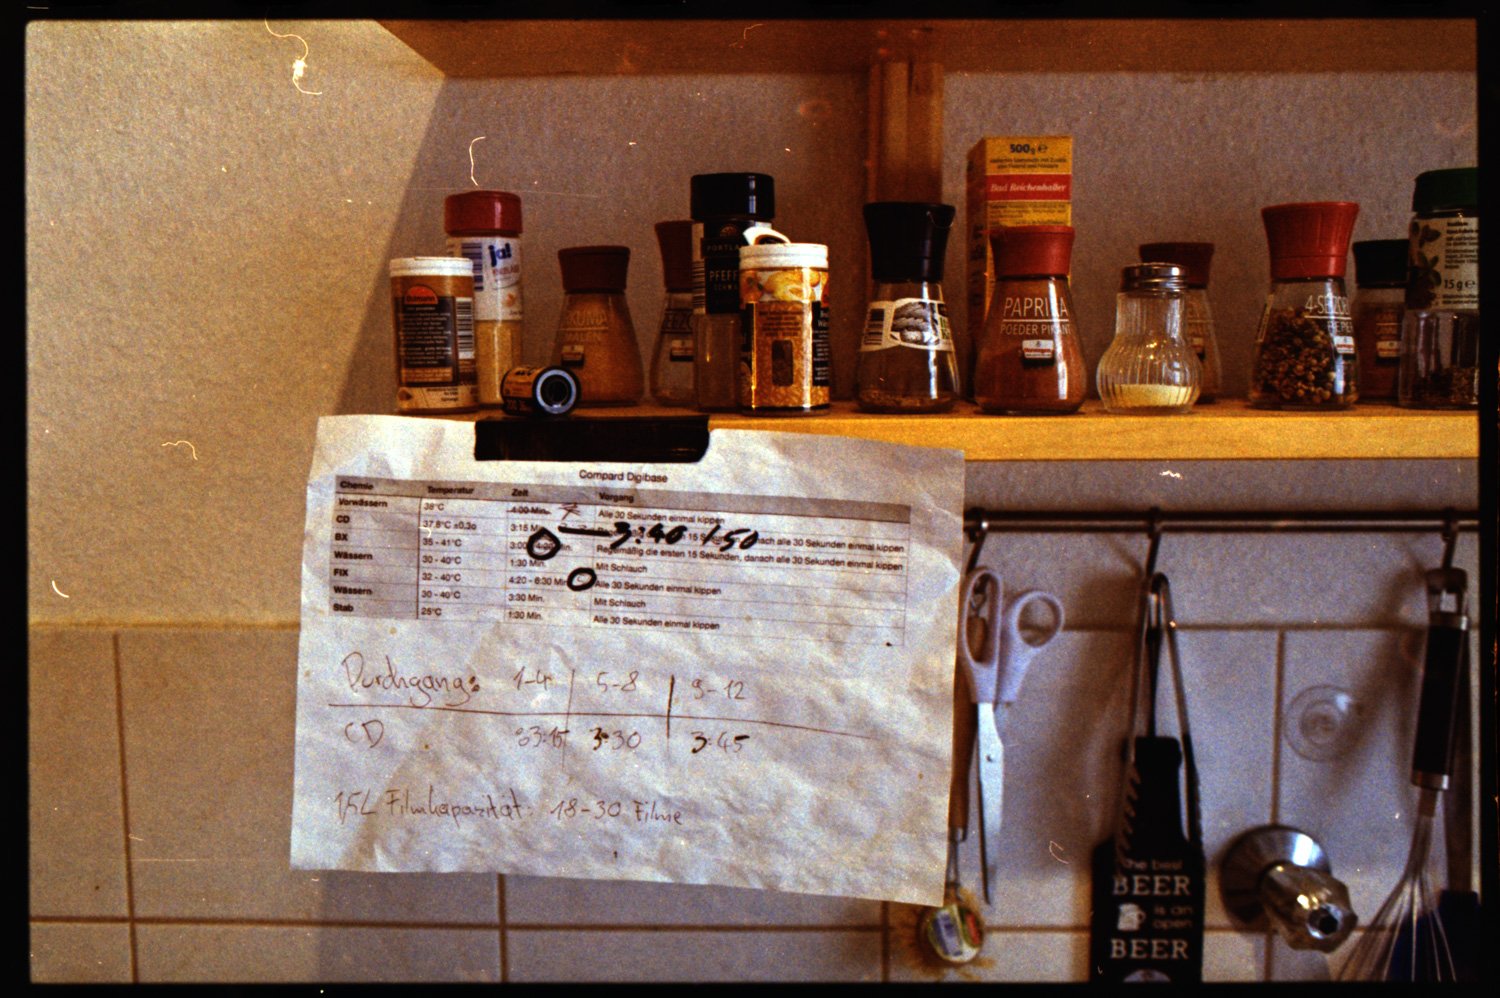
Here is a link to the manual. Note that the time varies the more films you develop with one working solution.

At first you pre heat your tank. Fill it with the 38 degree water and close the tank. Leave it in the tub for the five minutes.
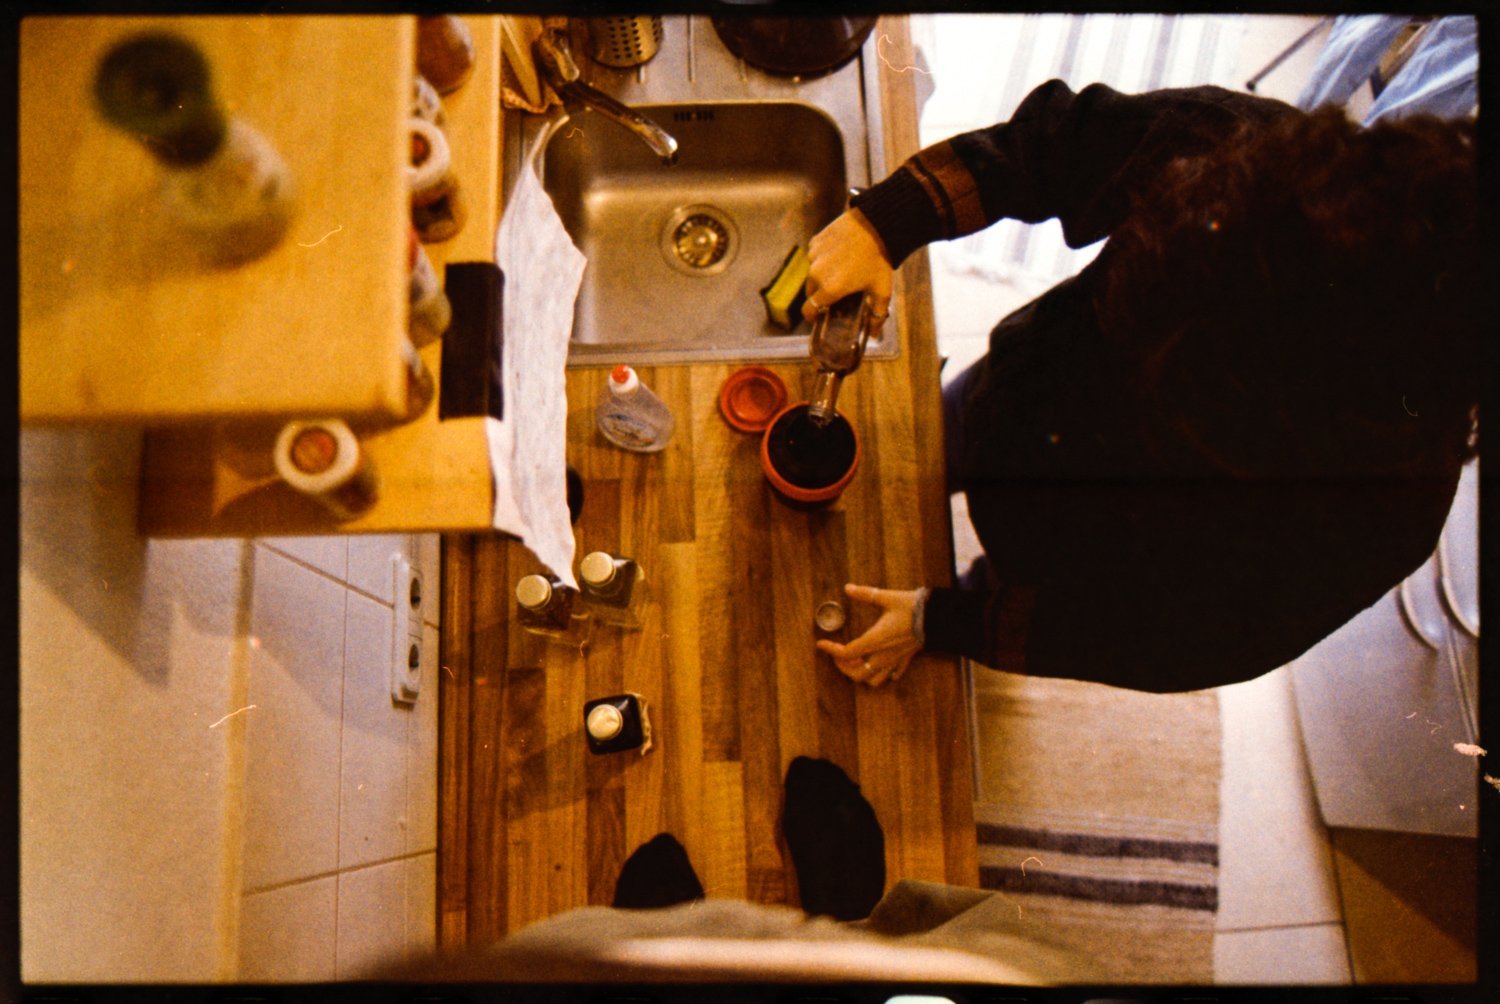
Now empty the tank and pour the CD in. Start the timer the moment you start pouring. Close the tank. For the first 15 seconds you cautious tilt the tank. Then you place it in the tub and tilt it again once every 30 seconds. This means that the used chemicals will get mixed and fresh CD comes to the film. A few seconds before the time is over you start pouring it back into the bottle. Close the bottle and put it back in to the tub (in case you want to develop more film).
Now you do the same with the BX. After you are done, you need warm rinsing water to clean the film. The water should be something between 30 and 40 degree. I place the tank under a running tap and empty it every 30 seconds for 3 minutes in total.

Last you fill in the Stabilizer and let it sit for one minute. It foams a lot, thats why I dont touch the tank during that time. After you poured it back you are finished. Some people clean the film one last time with water, but I dont think that’s necessary. But then again, I really don’t know.
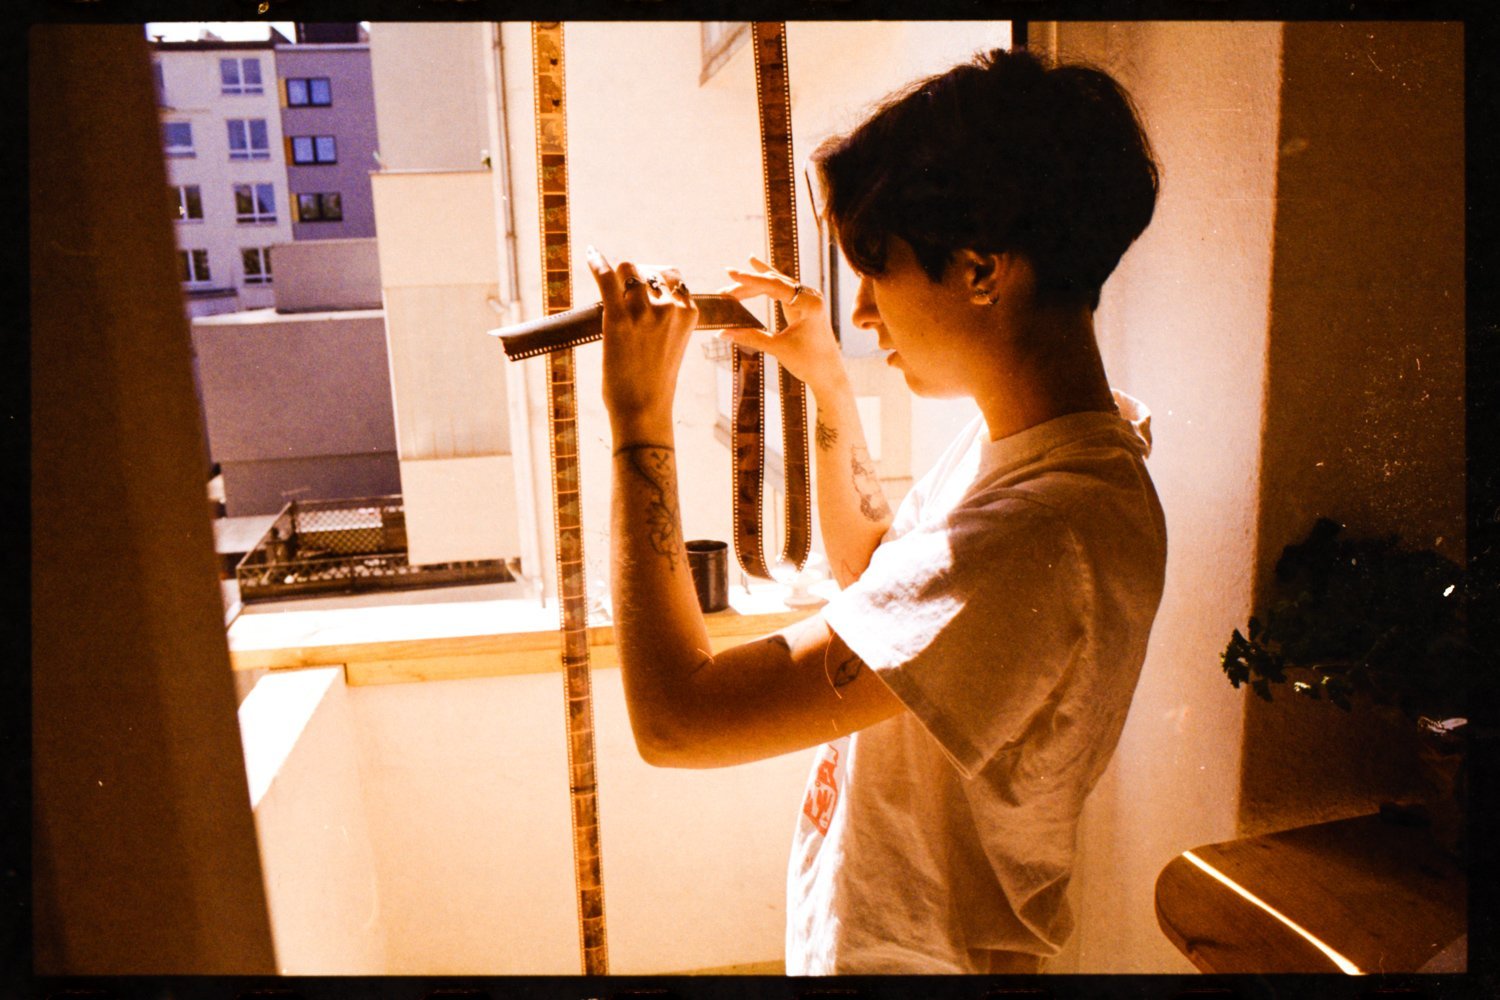
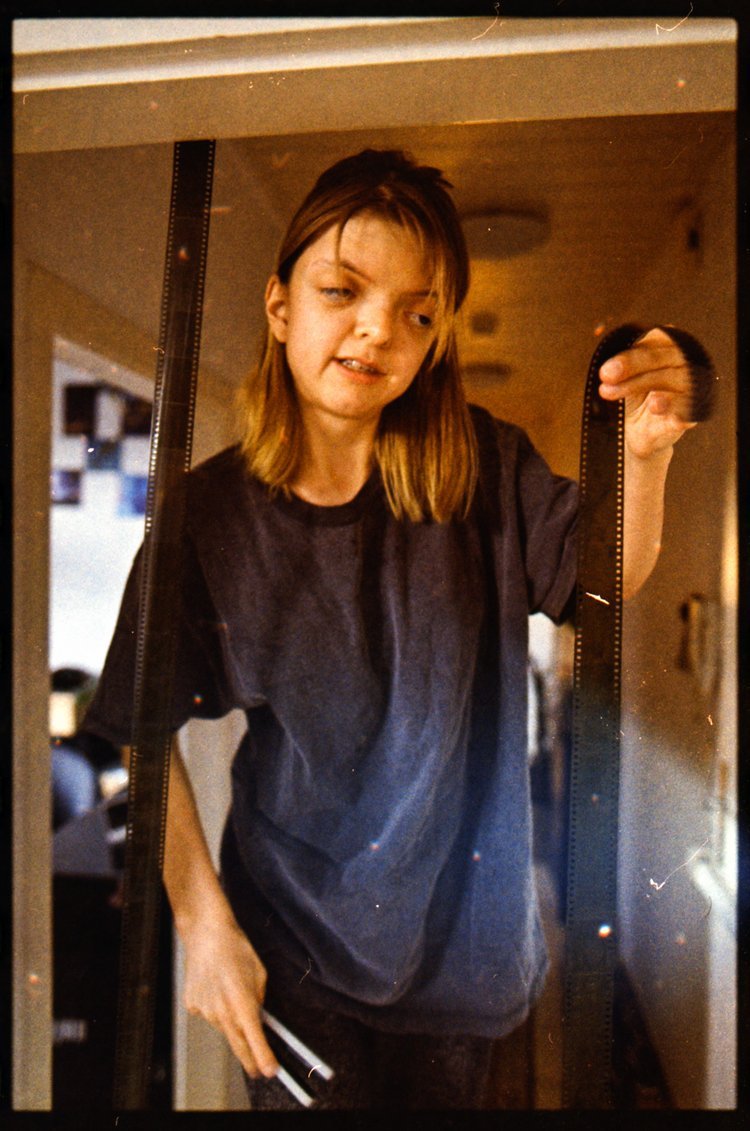
Now you can open the tank. Its a weird feeling to expose the films to light but you shouldn’t be concerned. To avoid water stains you can swipe the film with a film swiper or simply with your fingers.
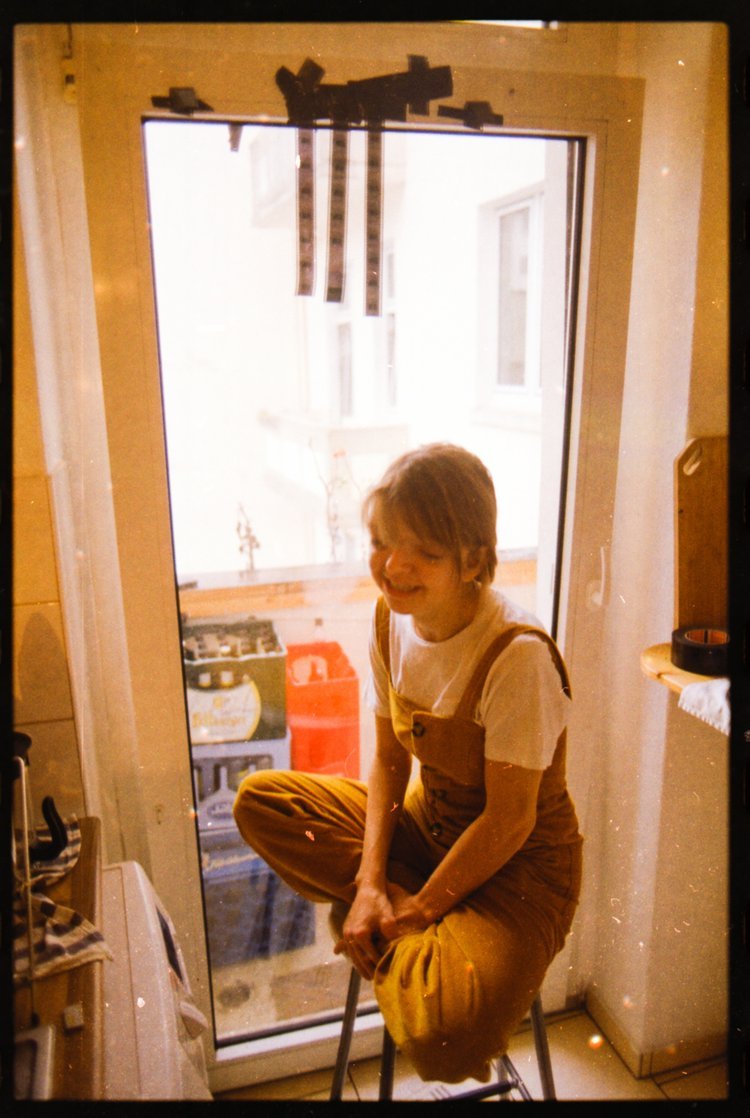
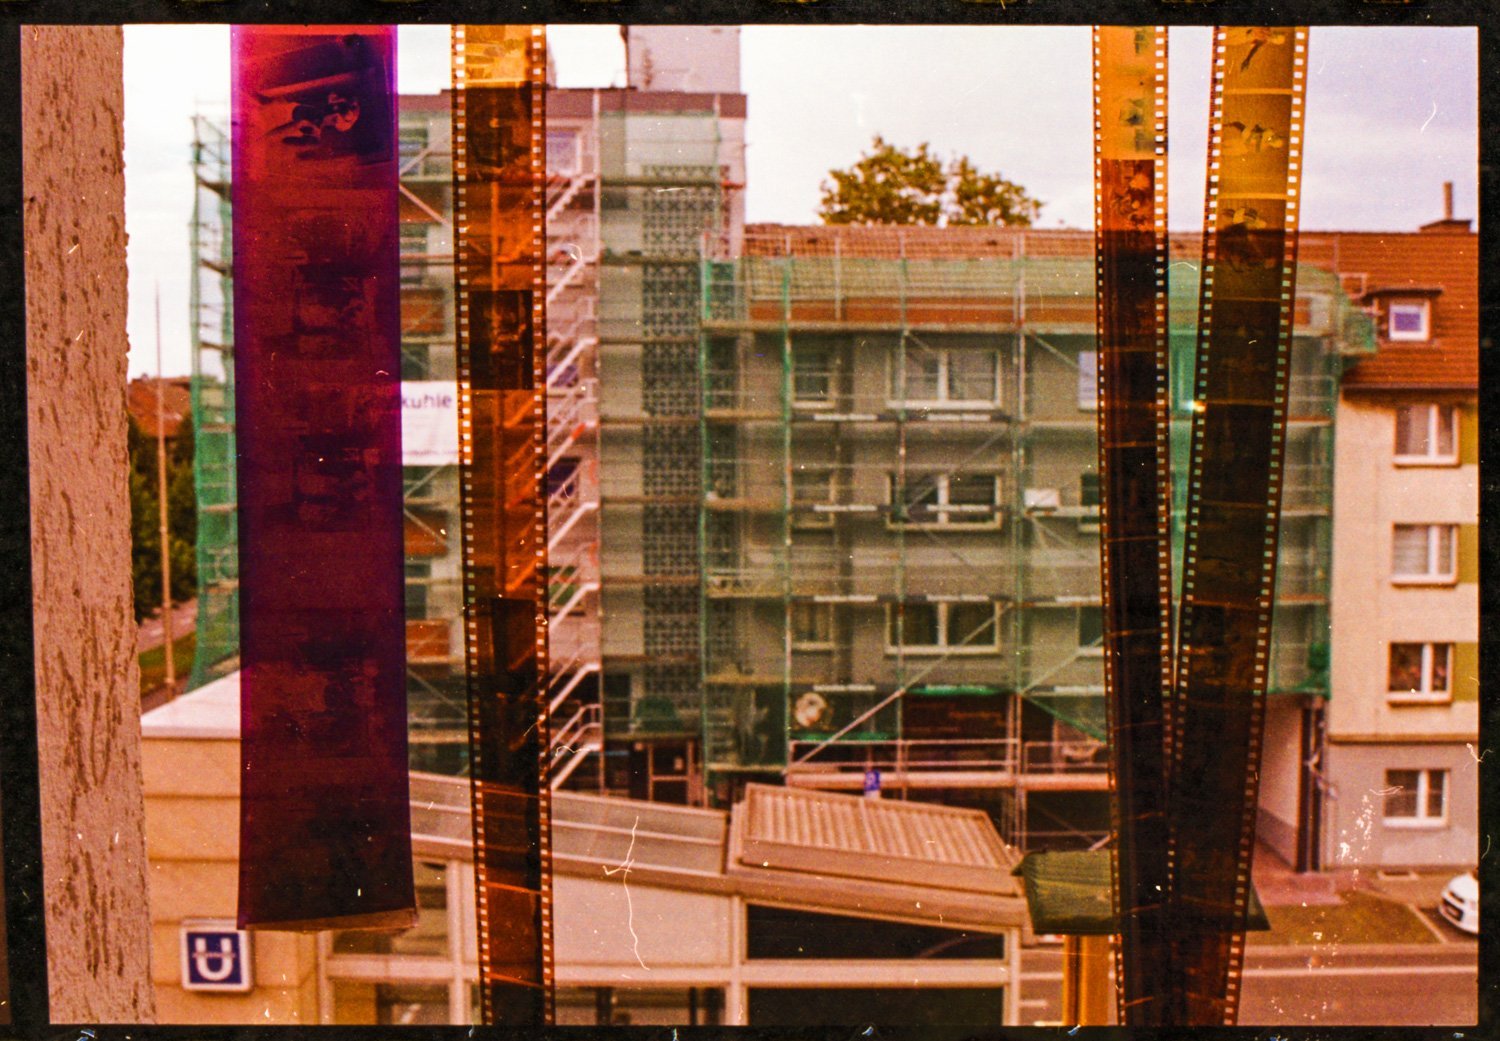
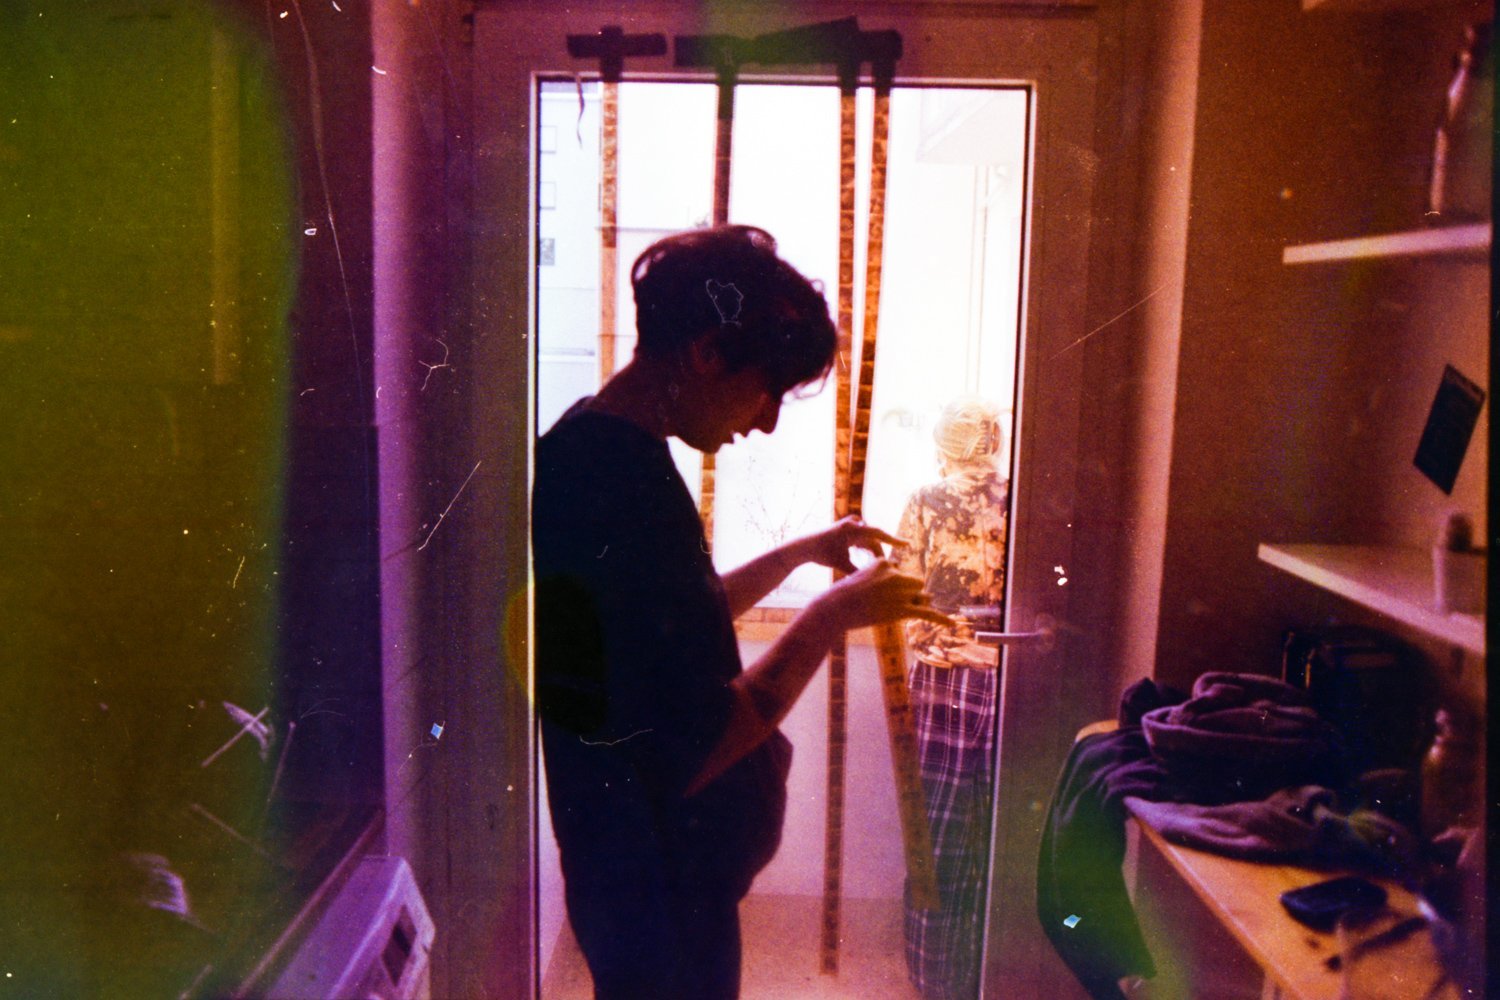
Hang your films and let them dry. You can use brackets or tape. You can also attach something heavy to the end of the films to avoid them to roll up or twist. Some people request to let it hang for a few hours. But I’m very impatiant and tried a lot of drying methodes. People also say its not good for your film to dry them hot.


I know that this isnt the cleanest or most accurate way to develop film. But it does what I want, even on a small budget and it will save you a lot of money in the future.
Also, you should bring your old chemicals to a recycling centre and not pour them in to your sink:)
Much love,
Josh